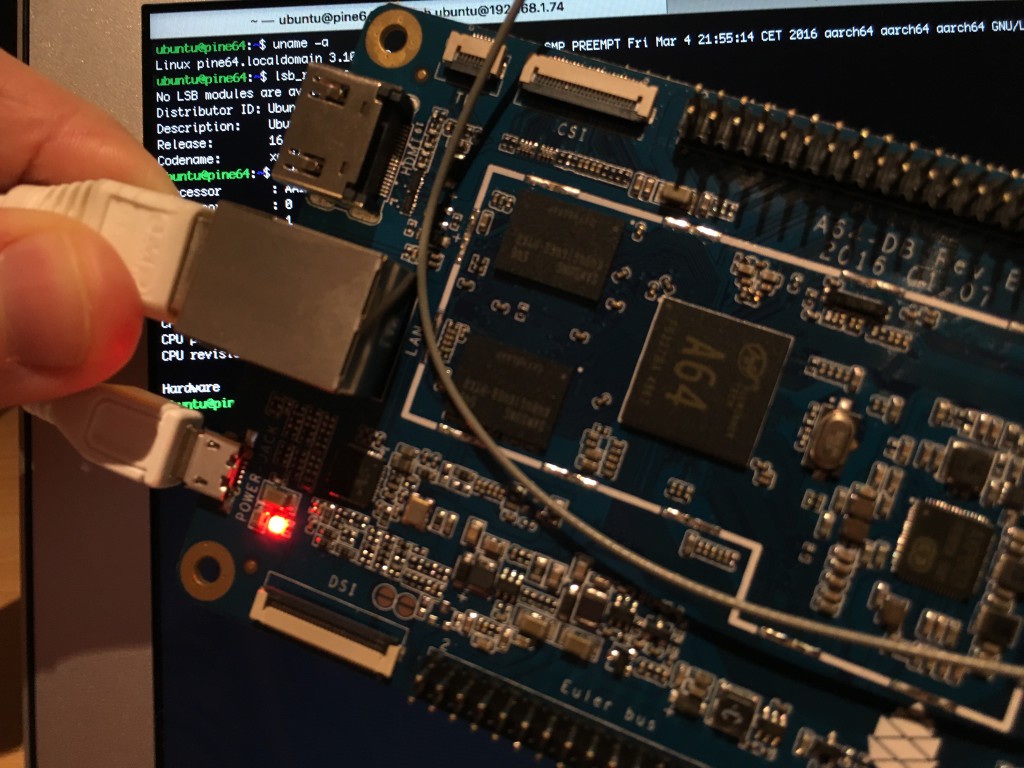
As you may know, I have recently received a PINE64 1GB board where I run ubuntu 16.04 xenial and one of the reason for which I wanted to own a PINE64 was to run a Tor relay, dedicating at least 200Mb bandwidth.
If you are interested on running a Tor node (non exit) compiling it from sources on a similar setup as mine, these are the steps you need to follow:
- Download the latest version from the official website
- Extract the tar.gz file
# tar zxvf tor-0.2.7.6.tar.gz
- cd into the Tor directory and compile the source code
# cd tor-0.2.7.6
# ./configure && make
The compiling process will take about 20 minutes to complete
- Move and edit the torrc file (Tor config file):
# sudo cp src/config/torrc /usr/local/etc/tor/torrc
# sudo vim /usr/local/etc/tor/torrc
You need to remove the hash in front of the following lines:
# RunAsDaemon 1 (if you want to run it as a deamon)
# ORPort 443 (I personally run it on port 443)
# Nickname antani.co (choose your favourite nickname)
# RelayBandwidthRate 10000 KBytes (This value depend on your internet connection capabilities)
# ContactInfo 0xFFFFFFFF mane  (It is good to specify contact details)
# ExitPolicy reject *:* (if you want the relay to run as a non-exit)
- You are ready to start your Tor relay
# src/or/tor
You should get an output similar to this:
Mar 09 22:04:30.769 [notice] Tor v0.2.7.6 running on Linux with Libevent 2.0.21-stable, OpenSSL 1.0.2g and Zlib 1.2.8.
Mar 09 22:04:30.769 [notice] Tor can't help you if you use it wrong! Learn how to be safe at httpss://www.torproject.org/download/download#warning
Mar 09 22:04:30.770 [notice] Read configuration file "/usr/local/etc/tor/torrc".
Mar 09 22:04:30.778 [notice] Based on detected system memory, MaxMemInQueues is set to 733 MB. You can override this by setting MaxMemInQueues by hand.
Mar 09 22:04:30.781 [notice] Opening Socks listener on 127.0.0.1:9050
Mar 09 22:04:30.782 [notice] Opening Control listener on 127.0.0.1:9051
Mar 09 22:04:30.782 [notice] Opening OR listener on 0.0.0.0:443
Enjoy your Tor node!
