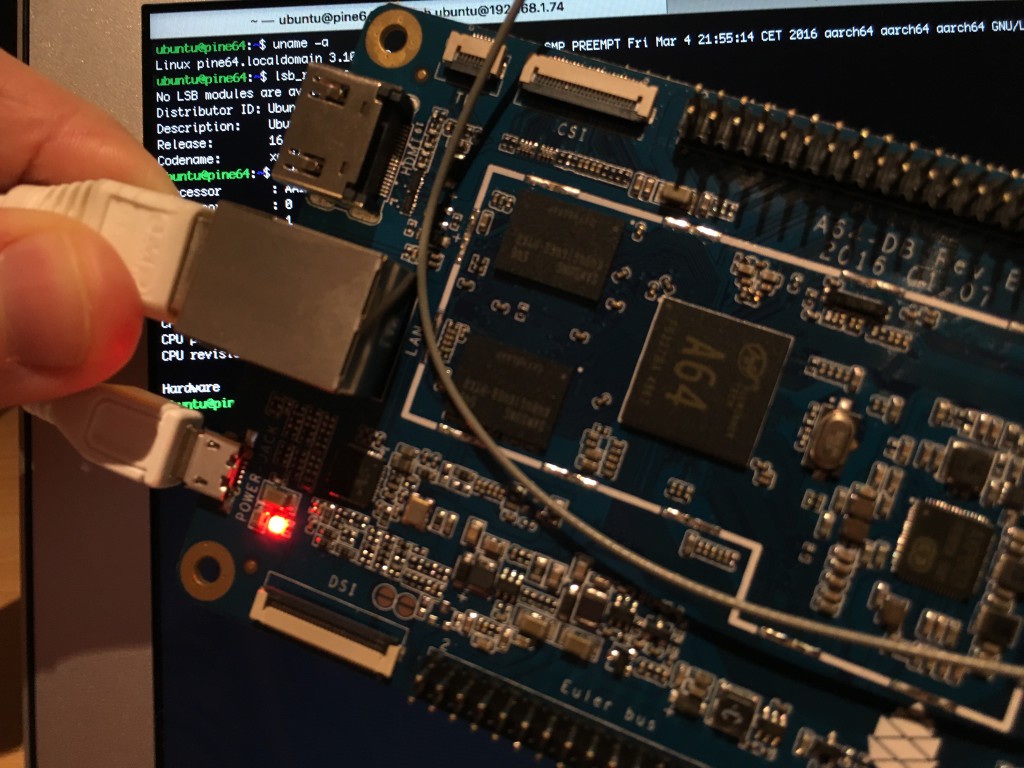
My PINE64+ 1GB has arrived and, of course, I’m already playing around with it.
First of all I needed a bootable ubuntu image so I went on the official forum and checked if there was something ready to be used.
Fortunately there are a bunch of good guys there that make good things happen. One of these guys is longsleep, the only user who released a fully working ubuntu 16.04 image so far and many thanks goes to him for his work.
These are the steps you need to follow in order to install ubuntu 16.06 xenial on your PINE64 using a mac computer:
- Download the latest image file from here (versions might vary with the time)
- Extract the .img file
- Flash the .img file into the SD card using the following commands:
*Assuming that your SD card is mounted under /dev/disk2 (otherwise change the number 2 with the appropriate of your system)
# diskutil unmountDisk /dev/disk2 # sudo dd if=/path_to_your_file/xenial-pine64-bspkernel-*.img of=/dev/rdisk2 bs=32m
The last command will take few minutes to complete so be patient
- Unmount the SD from your mac
- Insert the SD on your PINE64 and power it up
- Wait for ubuntu to boot
- Login using the following credentials:
# username: ubuntu # password: ubuntu
- Change the credential with a more secure one
- Enjoy your PINE64 with the latest ubuntu version
Kudos to the fantastic PINE64’s team who kindly decided to send me a board free of charge in order to test it and document what I will run on top of it with the aim of supporting its community. Keep the good work up!
Stay tuned for more exciting how-to articles!
** Thanks to Lars Hansen for adding some details on how to flash an img file from a Windows computer.
- Download Win32 DiskImager
- Extract the .img from the .xz file using 7zip
- Write the image to the SD card using DiskImager.
- Insert SD card into Pine64, and boot up.
Writing the image from windows is very simple:
* Download Win32 DiskImager
* Extract the .img from the .xz file using 7zip
* Write the image to the SD card using DiskImager.
* Insert SD card into Pine64, and boot up.
Thanks Lars Hansen, I’ve added those details into the article.
hello,
i have followed the instructions above and created what i thought was a bootable disk. however, after booting, with an hdmi from the Pine A64+ board to my ProScan UltraHD 4K tv and my usb keyboard & mouse attached, it did boot throught the opening linux stack trace set-up, but then got a stack trace error, twice, and stopped around line 44. any help here on what to do next?
best,
— faddah
portland, oregon, u.s.a.
Hi Faddah,
I think you need to plug in an ethernet cable in order to get that working. I was reading something about it on the forum.
Please let me know if that fixes your issue.
there was all ready a live ethernet cable connected to my comcast cable modem attached to the A64+ board when i booted up, so i don’t think that was it. any other ideas?
Could you give me more information about the error please? Also a screenshot would be good.
try and try again 😉 – joke aside, could be bad sd card.. low power..
I get an error when I followed your steps. I uploaded a screenshot of the error on imgur.
Do you know how to fix it?
Link:
https://imgur.com/mfE4sCd
I see those errors as well but does not effect the boot. Only thing stopped me from booting was usb peripherals (keyboard and mouse), they throw an error, so i removed them and once login screen arrived, plugged back the keyboard, and it worked.
How about to install from something official?
Honestly, what’s the point of installing from unknown image? Just to play?
Currently there are no official kernels for the PINE64 so it’s not possible to install ubuntu and get it working with the “traditional” way.
I couldn’t get the ubuntu image to work. It was the first OS image I tried with my dad’s 2GB Pine64. 2 different ones from the Pine OS page didn’t work — as in, flashed disk in, hooked up to monitor, but screen stays black. I was using Windows 7 to flash the SD (using Etcher, as suggested). Finally I tried a Debian image, same steps, worked like a charm. I’m new to this, so not totally confident I did everything right, but it worked the 3rd time, and I’m not cognizant of anything I changed other than the content of the image.
Hi Ian,
At the first boot it can take a while to complete the process actually so it might have been related to that.
Which ubuntu image have you used exactly?
—
mane